Reports are a more formal way of displaying information captured in an Ad Hoc View. Reports allow you to share the information with authorised persons who may not have access to the BI system.
Instructions
Saved Reports can be accessed by searching, via the Library link at the top of the Community BI window, or through the Repository.
Step 1. Navigate to your report.
Step 2. Click on the Report name

Step 3. If your report requires input values, you will be taken to an input screen
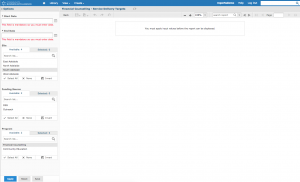
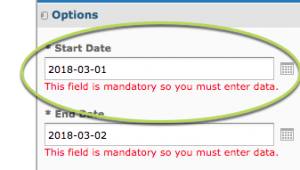
Step 4. Enter any mandatory fields
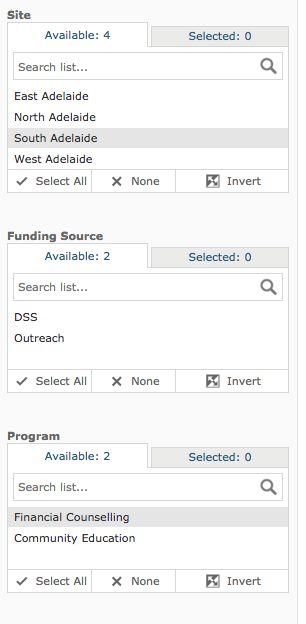
Step 5. Enter any optional filters you require
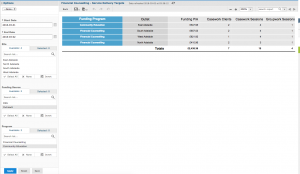
Step 6. Click Apply

Step 7. The Report details will be displayed
Step 8. To remove the entered criteria and start again, click Reset
Step 9. To save the entered values click Save.
Step 10. Enter a name for the saved criteria.
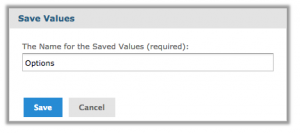
Step 11. Click Save.
The entered information is saved at the top of the Options pane.
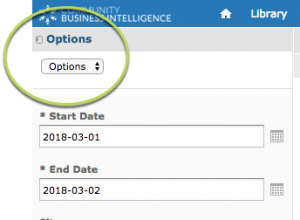
The saved options can be used at any time for the report.
Step 12. To save additional options for the report, change the criteria.
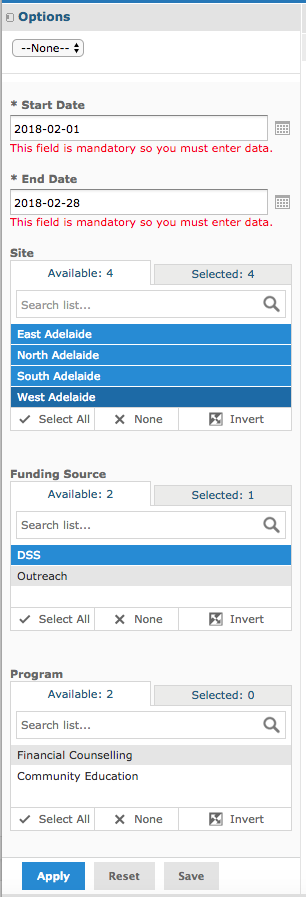
Step 13. Click Save
Step 14. Enter a name for the saved criteria.
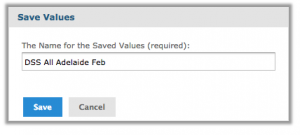
The additional option is available in the drop-down Options list.
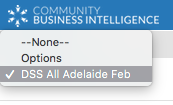
Step 15. To apply the options, use the drop-down and select the Options name
Step 16. To remove the options from the report, click Remove at the bottom of the pane.
Step 17. Return to the repository and view the report name.

Note the arrow next to the name.
Step 18. Click on the arrow.

The saved report options are listed under the report.
Step 19. Click one of the options to open the report with the criteria applied, or click on the report name to open the report and enter criteria manually.
Further Information
For more information on working with reports, refer to articles in the Reports category.
