Reports can be scheduled to run automatically at a given time/date, or on multiple occasions.
Report Schedules can be configured with particular settings, including recurrence, report parameters, output options and notifications.
Reports are a more formal way of displaying information captured in an Ad Hoc View. Reports allow you to share the information with authorised persons who may not have access to the BI system.
Instructions
Changing Report Schedule Settings
Once you have saved the initial schedule, there are additional parameters, output options and Notifications you can configure.
Parameters
Step 1. Create a schedule for a report.
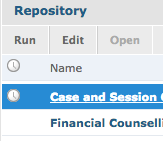
Step 2. Navigate to the report in the Repository.
Step 3. Click on the Schedule (clock) icon next to the report
The currently scheduled jobs are listed

Step 4. Click on the edit (pencil) icon next to the schedule
The schedule information is displayed, with the schedule tab in focus.

Step 5. Select the Parameters tab.
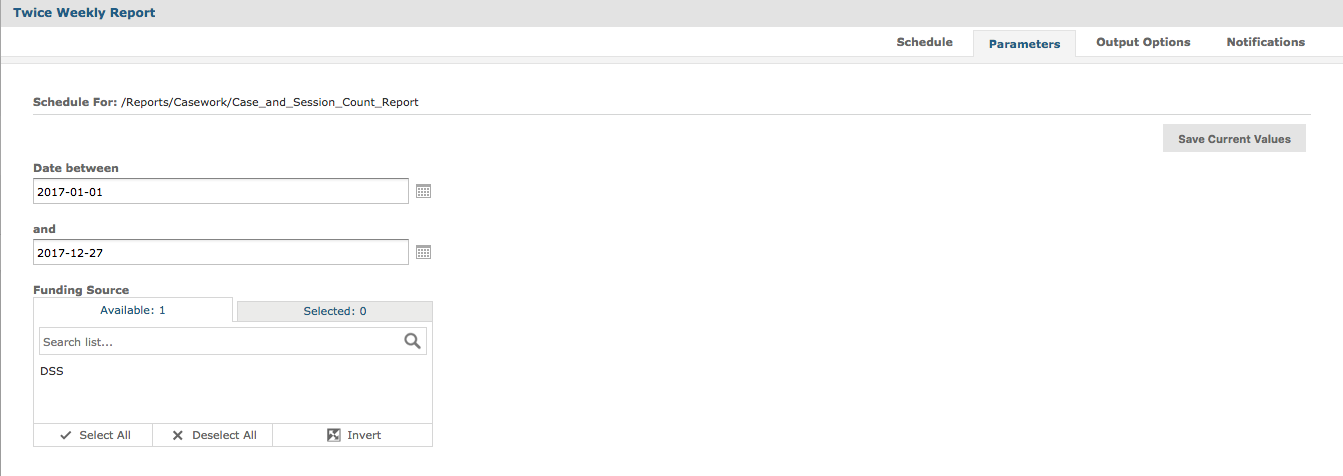
The parameters (filters) built into the Report’s Ad Hoc View are listed.
Change the parameters as required.
Step 6. Select the Output Options tab
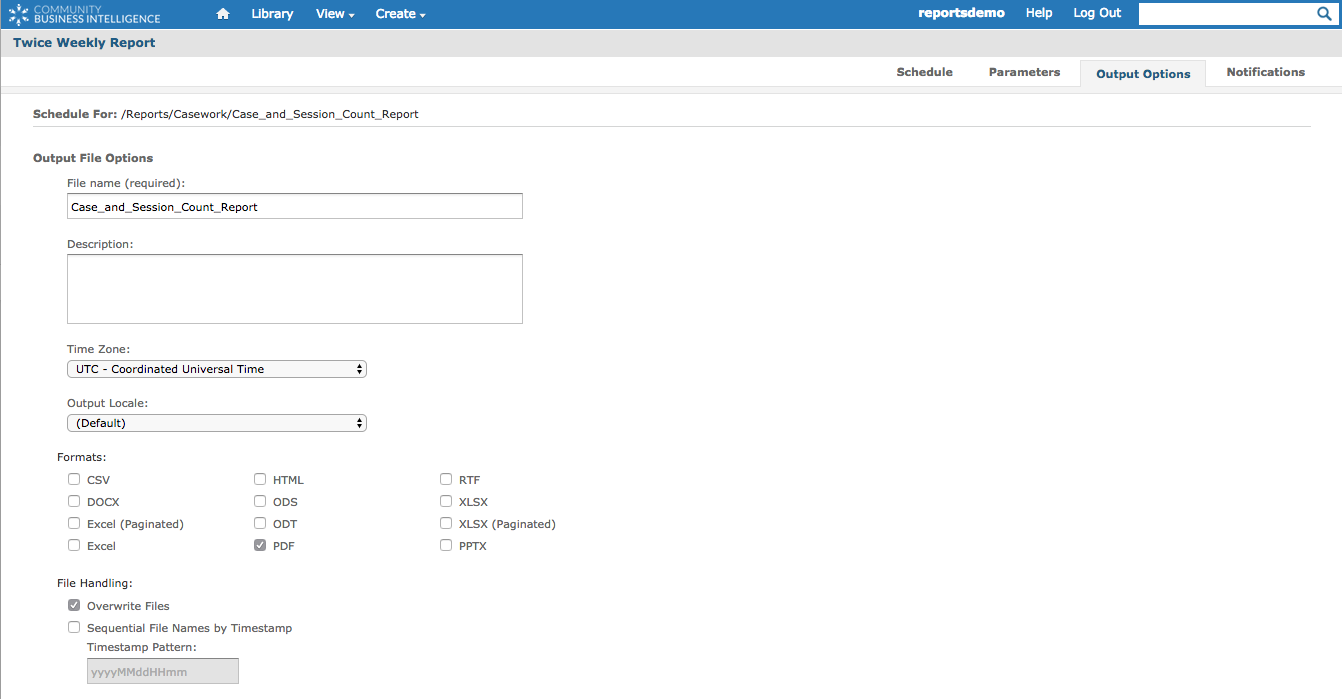
Step 7. Select the required format for the report (defaulted to PDF)
Step 8. Select whether to overwrite files (only the most recent report is available), or choose Sequential File Names by timestamp (all reports run will be stored in the Repository.
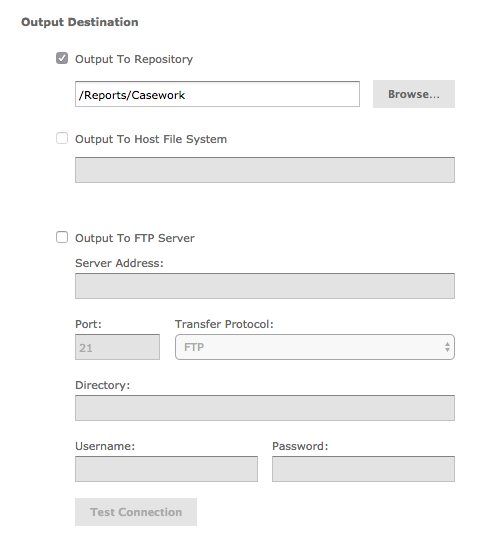
Step 9. Scroll down to Output Destination
Select required Output destination e.g. Output to Repository
Click Browse to change the location in the Repository.
Step 10. Select Notifications tab
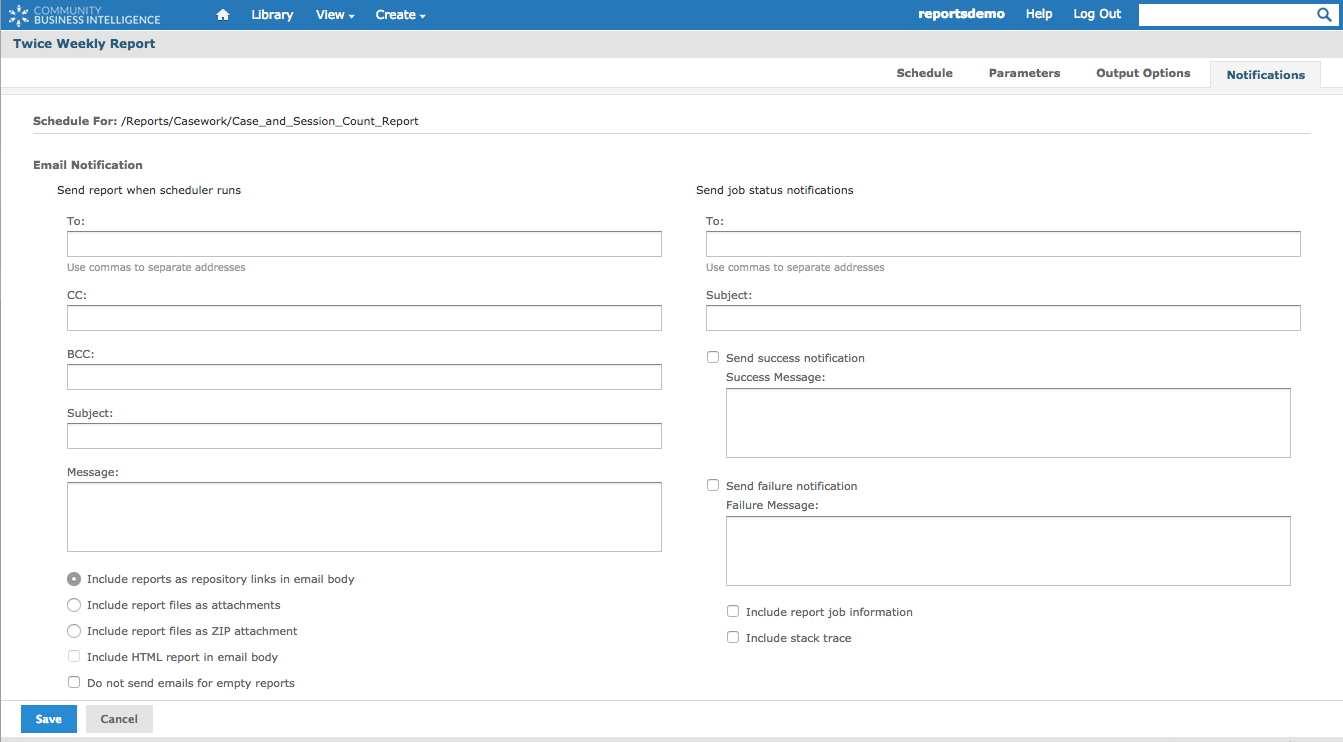
Notifications allow you to send an email notification whenever the scheduled report runs.
Step 11. Save any changes
Further Information
For further information refer to the following articles: