Reports are a more formal way of displaying information captured in an Ad Hoc View. Reports allow you to share the information with authorised persons who may not have access to the BI system.
Instructions
There are several ways to create a report in the Community BI system.
Creating a Report when saving an Ad Hoc View
- Save Ad Hoc View and Create Report
- When creating an Ad Hoc view, you are able to save and create a report at the same time
Creating a Report using an existing Ad Hoc View
- Create Report (Home Screen)
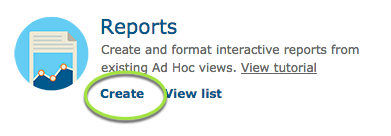
- Click Create in the Reports section of the Home screen
- Create Report (Menu)
- Select Report from the Create drop down at the top of the page
- Repository
- Right click on an existing Ad Hoc View and select Create Report
See below for further information on each method.
Creating a Report when saving an Ad Hoc View
Step 1. Log in to your Community BI system (refer to Logging In for further information).
Tip: Contact your system administrator if you need assistance with your log in details.
Step 2. Create an Ad Hoc View.
Refer to Creating Ad Hoc Views and Ad Hoc View – Saving and Creating a Report for further information.
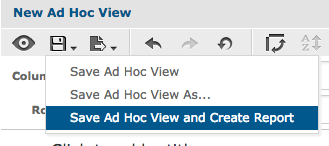
Step 3. When you are happy with your view, Click the save drop down at the top of the page.
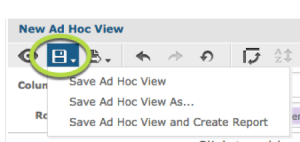
Step 4. Select Save Ad Hoc View and Create Report.
Step 5. Enter all required fields for the Ad Hoc View and the Report
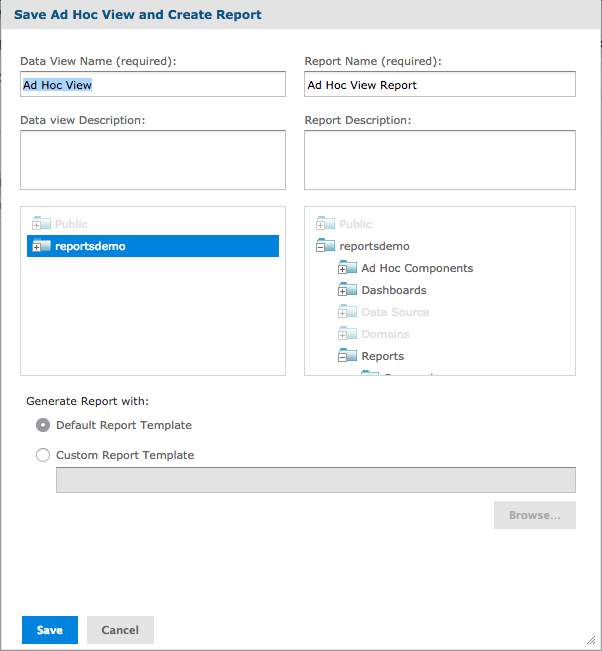
Step 5a. Enter the Data View Name and Report Name
Step 5b. Enter the Data View description and Report description
Step 5c. Select the required Repository locations for the Ad Hoc View and Report
Step 5d. Select the Default Report Template or Custom Report Template (if you have one available).

Step 6. Click Save
Step 7. Navigate to the saved report location
Step 8. Run the Report
Step 9. Review the output – it should be the same as the output in the Ad Hoc View screen.
Creating a Report using an existing Ad Hoc View
Step 1. On the Home Screen, click Create in the Reports section OR Select Report from the Create drop down menu at the top of the page.
Step 2. Select an existing Ad Hoc View from the Create Report window.
Tip: click the plus (+) sign to expand the folders
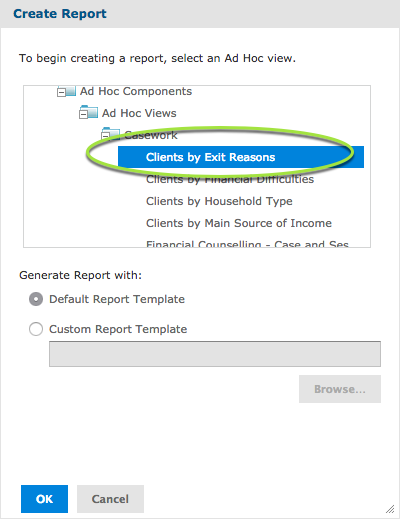
Step 3. Select the Default Report Template or (if available) a Custom Report Template.
Step 4. Click OK
The created report is displayed
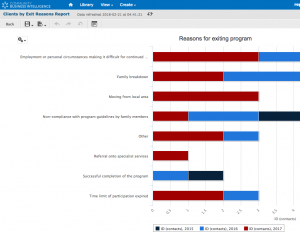
At this point you may choose to simply export the report for a single use or save the report to be used again.
To export:
Step 1. Click the Export button
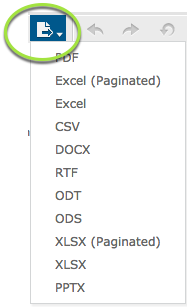
Step 2. Select the required format.
Step 3. Your report will be downloaded to your computer.
Refer to Exporting Reports for further information
To save the report:
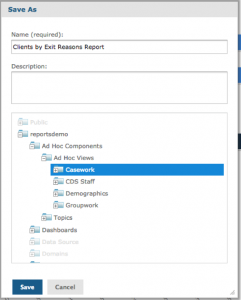
Step 1. Click the Save button

Step 2. Select Save or Save As if you wish to change the current save location

Step 3. Edit the name (if required)
Step 4. Enter the Report Description
Step 5. Select the required Save location
Step 6. Click Save.
Step 7. The report is now saved for further use.
Creating a Report from an Existing Ad Hoc View in the Repository
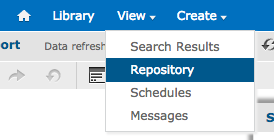
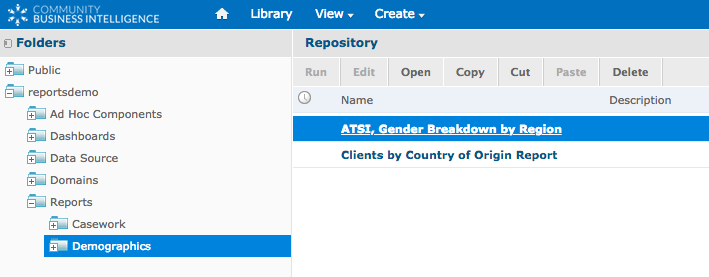
Step 1. Select Repository from the View drop-down at the top of the screen
Step 2. Select an existing Ad Hoc View from the Repository
Tip: click the plus (+) sign to expand the folders
Step 3. Right Click on the required Ad Hoc View
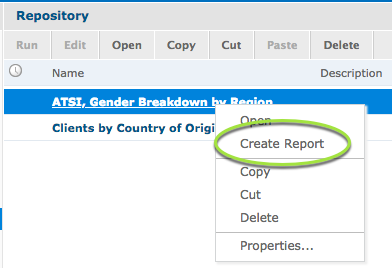
Step 4. Select Create Report
Step 5. Select the Default Report Template or (if available) a Custom Report Template.
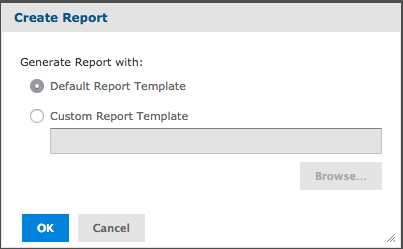
Step 6. Click OK
The created report is displayed
At this point you may choose to simply export the report for a single use or save the report to be used again.
To export:
Step 1. Click the Export button
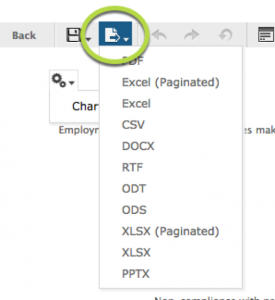
Step 2. Select the required format.
Step 3. Your report will be downloaded to your computer.
Refer to Exporting Reports for further information
To save the report:
Step 1. Click the Save button
Step 2. Select Save or Save As if you wish to change the current save location
Step 3. Select the required Save location
Step 4. Click Save.
Step 5. The report is now saved for further use.
Further Information
For further instructions click here: