Once you have created an Ad Hoc View you may wish to save it for future use or editing. You can also save the view as a report at the same time.
Instructions
Step 1. Once your view has been created (refer to Ad Hoc View – How to Create) you may wish to save it.
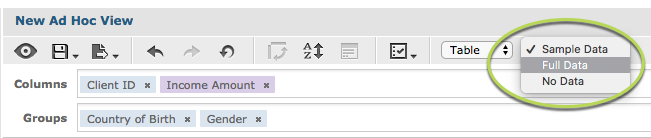
Step 2. If you are happy with the report, you should change from Sample Data to Full Data.
Tip: while editing, your ad hoc view will use only sample data to ensure quicker response times.
At the top of the page, click on the Sample Data drop down and select Full Data.
Step 3. Add a title to your view by clicking on the ‘Click to add a title’ field at the top of the screen.
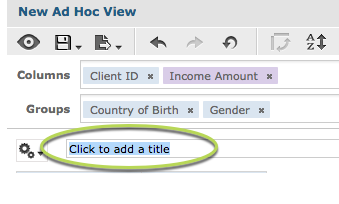
The title now appears at the top of the view.
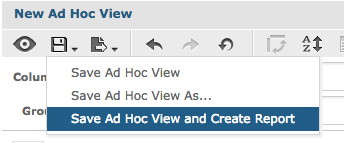
Step 4. To save your view and create a report, click on the Save icon and select Save Ad Hoc View and Create Report
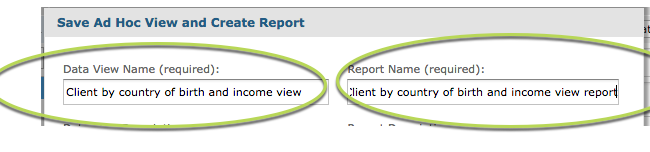
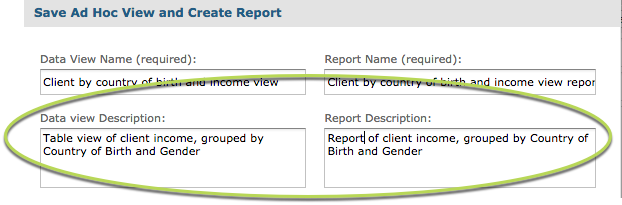
Step 5. Enter a Data View Name and Report Name
Tip – these names must not be identical
Step 6. Enter Data View and Report Descriptions (if required)
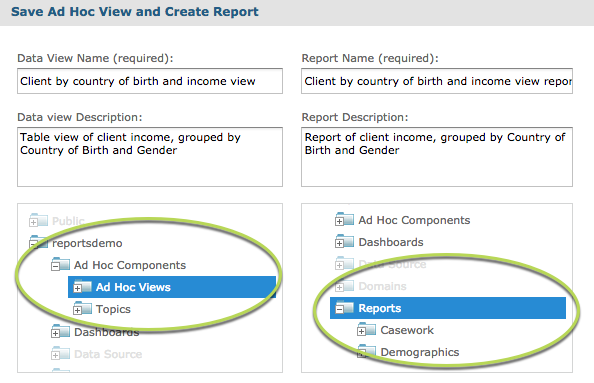
Step 7. Select locations to store Ad Hoc View and Report
Tip: Your organisation should agree and advise naming conventions and saving locations
Step 8. Select either the default Report Template or a Custom Report Template (if available)
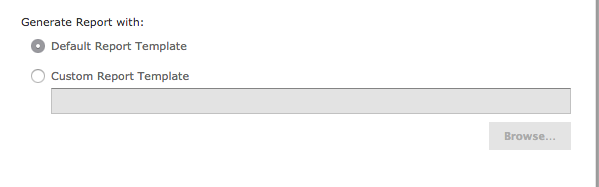
Step 9. Click Save
Remember, you can save the View and create a report from the view at a later time. For instructions refer to the Ad Hoc Views – Saving article.
Further Information
For more information on working with Ad Hoc Views, refer to articles in the Ad Hoc Views category.
For more information on working with Reports, refer to articles in the Reports category.