Reports and dashboards can be scheduled to run automatically at a given time/date, or on multiple occasions.
Setting a Calendar Recurring Schedule gives you more control over the recurrence of your report or dashboard schedule.
You can choose to run at selected times, days or dates, in selected months. You can also select the start and end times for the report schedule.
Reports and dashboards are a more formal way of displaying information captured in an Ad Hoc View. Reports and dashboards allow you to share the information with authorised persons who may not have access to the BI system.
Instructions
Creating a Calendar Recurring Schedule
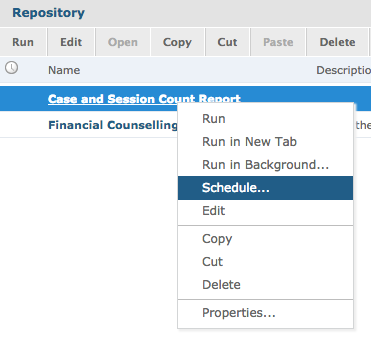
Step 1. Create or find the required report or dashboard in the Repository.
Step 2. Right Click on the required report or dashboard.
Step 3. Select Schedule… from the list.
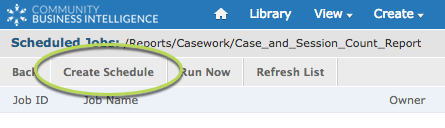
Step 4. On the Scheduled Jobs page, select Create Schedule.
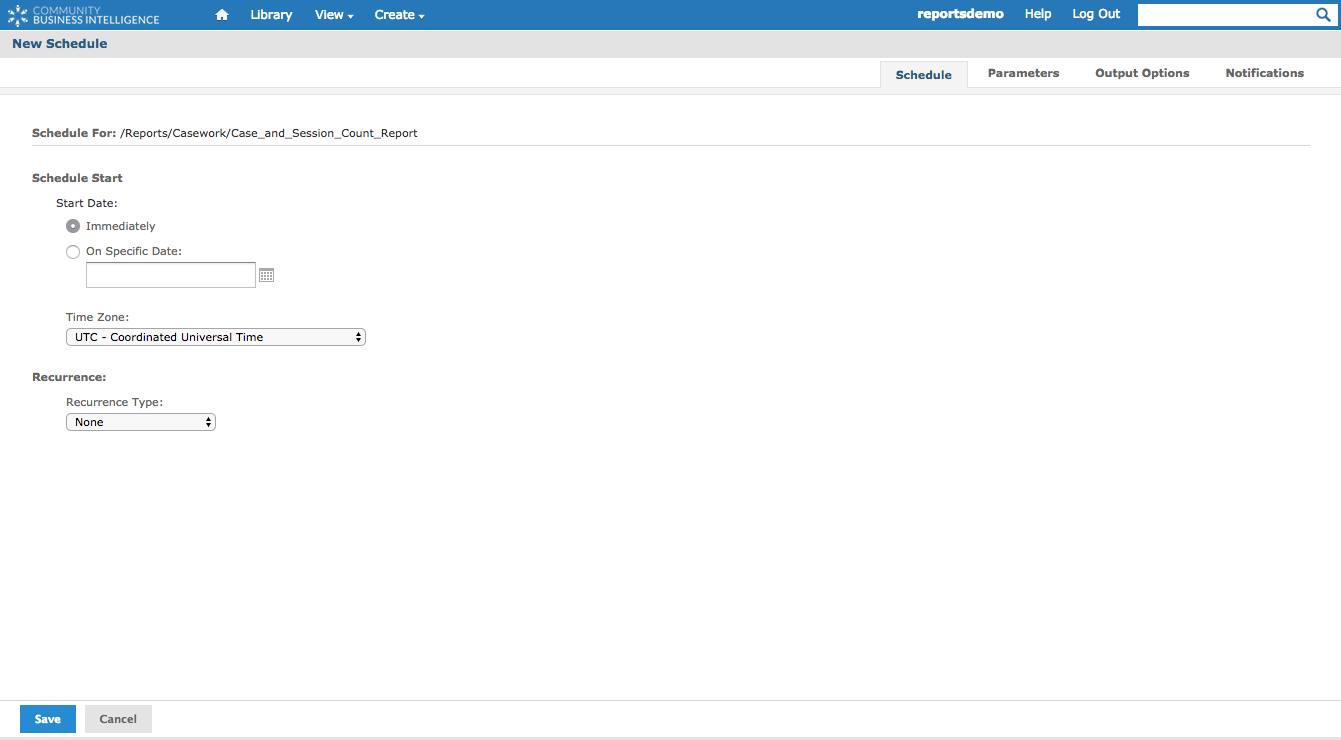
The New Schedule page is displayed.
Step 5. Select On Specific Date:
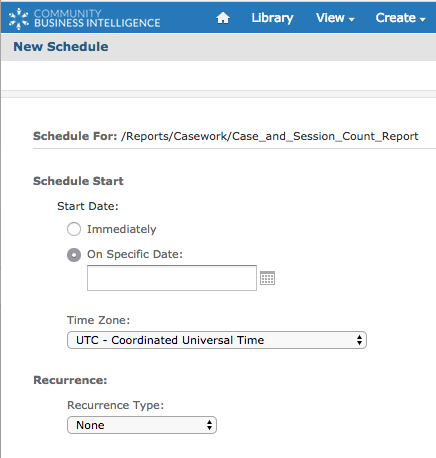
Step 6. Click on the calendar icon next to the specific date field
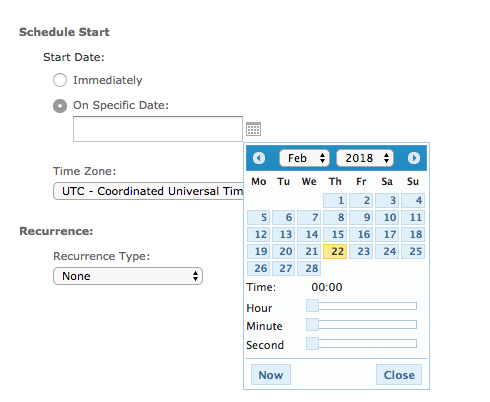
A calendar is displayed
Step 7. Select your required date and time
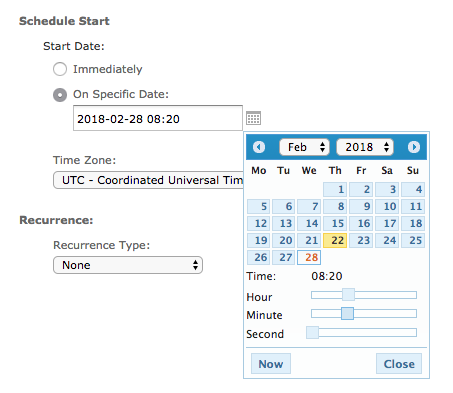
When selected on the calendar the details are added to the On Specific Date: field.
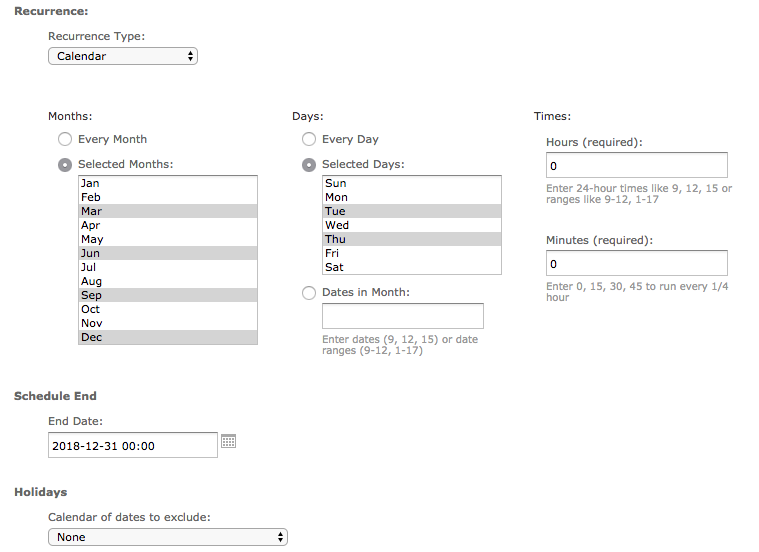
Step 8. Change Recurrence Type: = Calendar
Calendar recurrence lets you choose to run the report or dashboard every day, every month or on selected days and selected months.
You can also choose an end date.

Step 9. Select a repeat option.
e.g. repeat every Tuesday and Thursday in March, June, September and December
Step 10. Select an End Date
e.g. Run until 31st December 2018
Step 11. Click Save
The Save window appears
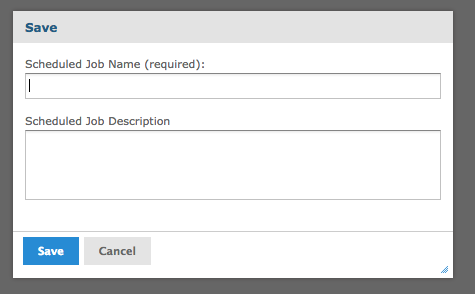
Step 12. Enter a Name and description for the Scheduled Report or Dashboard
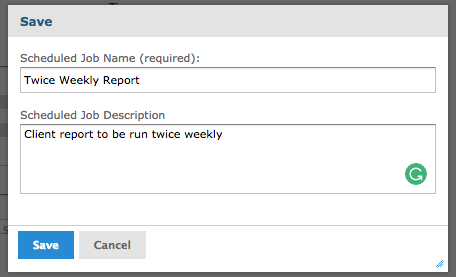
Step 13. Click Save
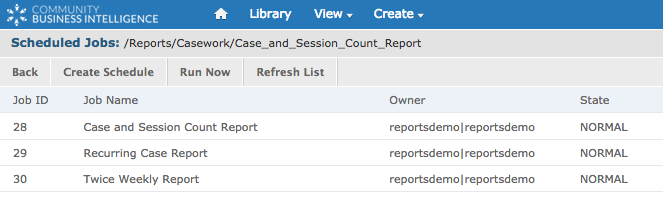
The Scheduled report or dashboard is now listed
Further Information
For further information refer to the following articles: