Once configured, you can view certain reports and dashboard directly from your CDS Database. The required Reports and/or Dashboards must be saved to the correct location in order to available in your database.
Instructions
Step 1. Create a report or dashboard in Community BI.
Step 2. Save or copy the report/dashboard to the correct folder.
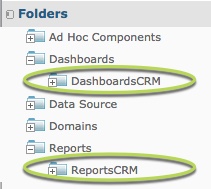
Tip:
The default folder for viewing in your database is ReportsCRM for Reports and Dashboards CRM for Dashboards. If these folders do not exist, please contact support.
Step 3. Run the report or dashboard in Community BI to ensure the required information is returned.
Step 4. Log into your CRM database (refer to Logging On for further information).
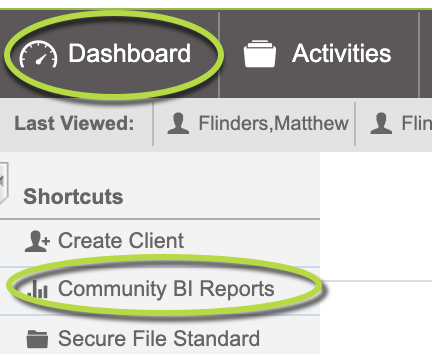
Step 5. At the top left of your screen Click on Dashboard then click on Community BI Reports
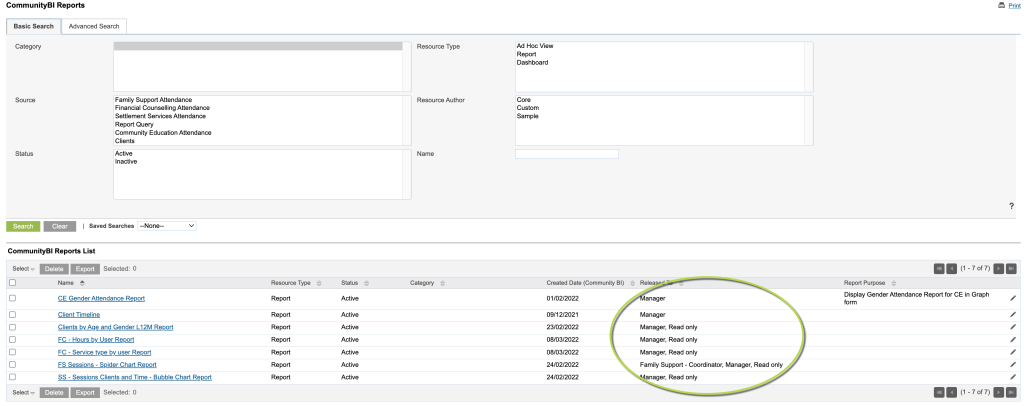
The Community BI Report page is displayed, listing any reports that you have permission to view.
The Released To column shows which roles are able to view the report.
Tip:
If you have added Reports or Dashboards to the correct folders, but you are unable to view them in your database, please contact support for assistance.

What you see in the screenshot below may not be what you see in your CRM Database.
Your organisation may have arranged to have different Community BI Reports available.
Step 6. Permissions for Community BI Reports in the CRM database
Within the CRM database you can change the view permission on a report.
To get help on how to do this, go to Community BI Report Permissions in the CRM Knowledge Base
Further Information
For information on accessing the reports from your database, please refer to the following article (the article opens in a new tab):